Jellyfin is a home media server which not only boasts an intuitive user interface, it’s also open source and completely free. There’s no restricted features hiding behind a paywall. All media can be stored in a central location and accessed from either a web interface or a phone / tablet app. What separates this from other similar products such as Plex, Kodi and Emby (this is a fork of Emby) is the sheer simplicity of use and the uncluttered UI.
Jellyfin boasts the ability to automatically download details such as cover art, subtitles, actor bios, descriptions and more without the tedium of having to do it all manually. I will note however, that this appears to rely heavily on the naming convention off the media, suffixes such as “HDTV.x264”, “BR-RIP” or similar may limit the effectiveness of this and some manual tidying of file names may be needed to achieve the desired effect.
I personally use it to share media with the family. Previously the media would be downloaded, copied to a USB, then copied to the appropriate laptop. Now, once it’s downloaded, just copy it over to the jellyfin server, click update and it’s done.
Set up Ubuntu Server
There are a couple of ways to install jellyfin, but I will demonstrate how to install it on a Ubuntu server VM. I initially followed the docs here:
https://jellyfin.org/docs/general/installation/
I am assuming that you have a clean, updated install of Ubuntu server (I use 22.02) with a decent amount of disk space for media. For instructions on how to do that using ESXi, come back later to see.
Install Jellyfin
Firstly, there are some packages required before anything else can happen
sudo apt install apt-transport-https ca-certificates curl -yAn addition to the Ubuntu repos need to be made, so the system knows where to get the install packages, and where to look for updates. The first step in this regard is to import the GPG key.
curl -fsSL https://repo.jellyfin.org/ubuntu/jellyfin_team.gpg.key | sudo gpg --dearmor -o /etc/apt/trusted.gpg.d/jellyfin.gpg > /dev/nullThen import the Jellyfin repo. Think of it like a digital store where your computer can download and install software. This command tells Ubuntu where on the internet to look for the collection of programs and updates needed to install Jellyfin.
echo "deb [arch=$( dpkg --print-architecture )] https://repo.jellyfin.org/$( awk -F'=' '/^ID=/{ print $NF }' /etc/os-release ) $( awk -F'=' '/^VERSION_CODENAME=/{ print $NF }' /etc/os-release ) main" | sudo tee /etc/apt/sources.list.d/jellyfin.listupdate ubuntu’s repo listings. This will update Ubuntu’s internal list of what software it knows about, now that you told it where to find the Jellyfin packages, the list needs to be updated to reflect that.
sudo apt updateInstall Jellyfin
sudo apt install jellyfinIf you see the below, just cancel out of it. We don’t need to restart any services.

Once thats complete, Jellyfin will start automatically. Confirm with:
systemctl status jellyfin
If your status does not look like the above, start the Jellyfin service with:
systemctl start jellyfinIn the context of a dedicated VM, the majority of users prefer a hassle-free experience, where everything works smoothly. To ensure Jellyfin starts automatically upon boot, enter the below command.
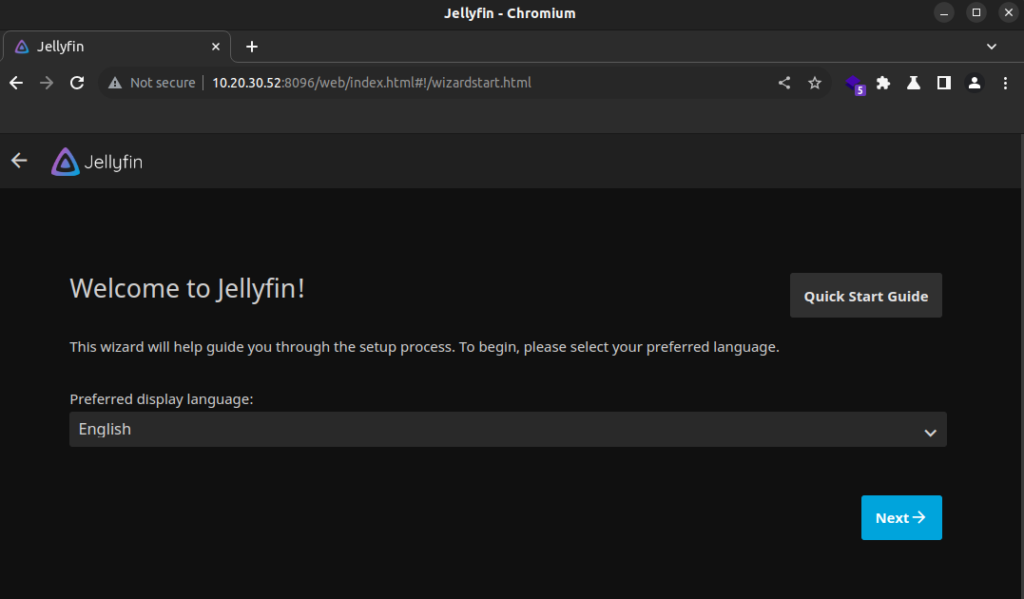
sudo systemctl enable jellyfinJellyfin is now up and running on port 8096. To access the web UI, go to:
https://<UBUNTU IP>:8096
Now it needs to be configured.
